How to Create a Plugin
FIRST READ How to setup your development environment
Plugins
Plugins are components that are added to a Buildfire app to add additional functionality to the platform.
Plugins are written in HTML and JavaScript with a few restrictions:
- Plugin files must be written within the required folder structure, so that the system can identify and import it correctly
- Plugin HTML files must import
buildfire.jsin the header of the document in order to access the platform, context and device
Plugin Folder Structure
myPlugin
├── plugin.json
├── control
│   ├── content
│   │   └── index.html
│   ├── design
│   │   └── index.html
│   └── settings
│       └── index.js
├── resources
│   ├── image.png
│   └── icon.png
├── widget
│   └── index.html
Plugin Components
Plugins consists of four major components:
- Config file (
plugin.json) - Control
- Context
- Design
- Settings
- Widget
- Resources
1. Config file (plugin.json)
The configuration of each plugin is placed in a file on the root of the plugin called plugin.json. This JSON file consists of all the settings the plugin requires. See more on how to fill plugin.json
2. Control (folder)
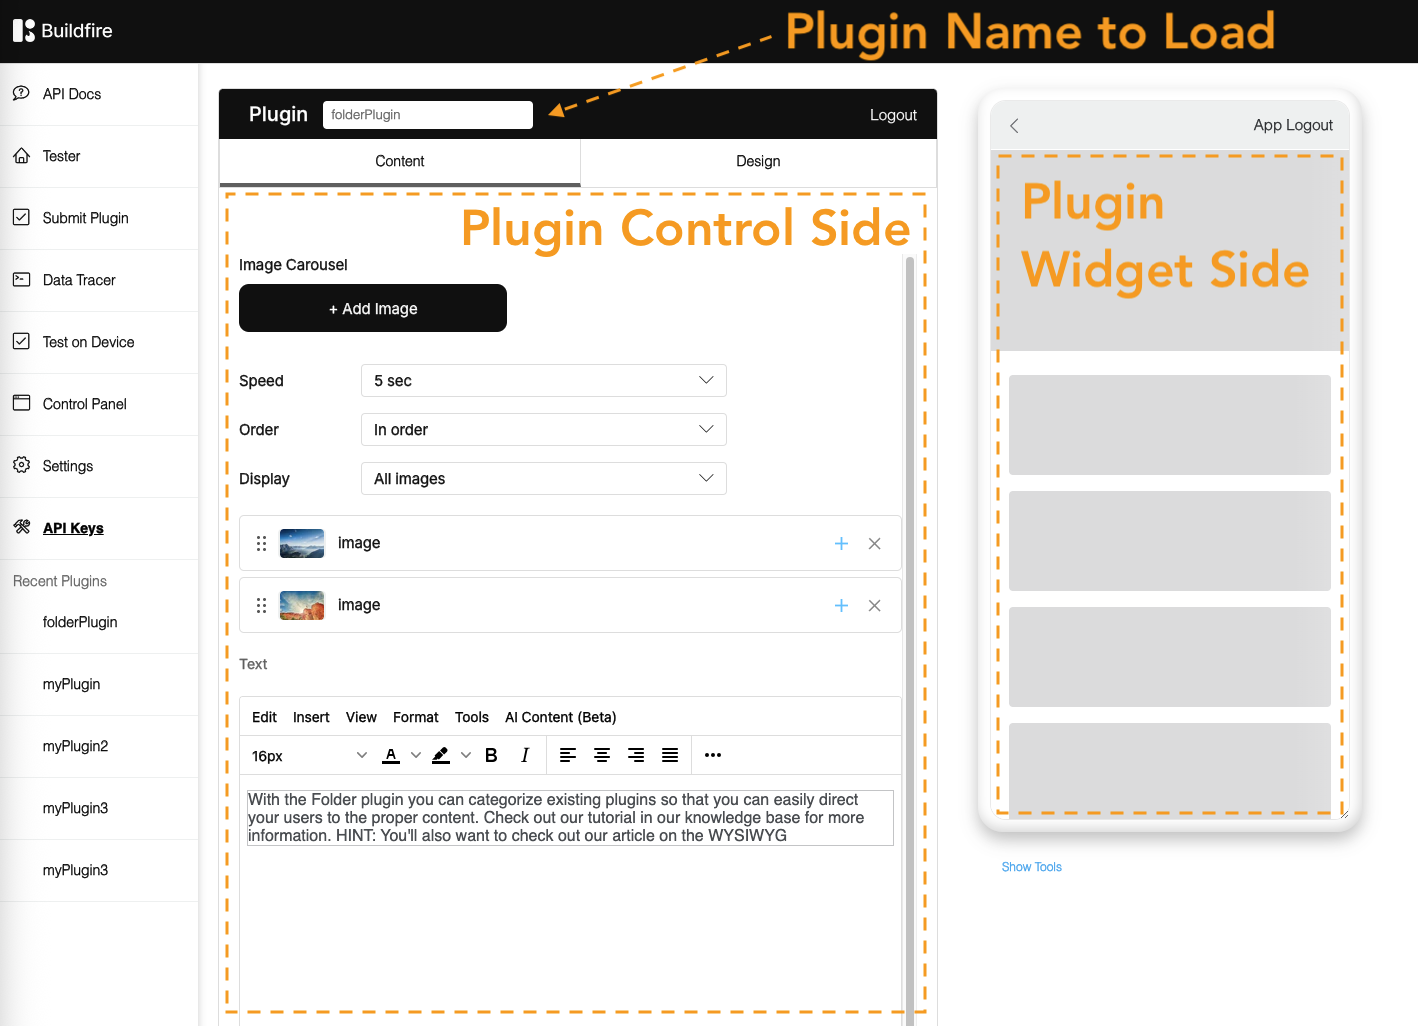
The Control is the part of the code that is added to the App Control Panel to help configure your plugin. The control has 3 sections/sub folders each of which have their own index.html start page:
- content
- design
- settings
3. Widget (folder)
The Widget is the part that is rendered on the device. It consumes the configuration made from the control and displays the output.
There can be an optional .images folder in your plugin where you can save all the static images that you need on widget side like placeholders. This folder contains a .nomedia file which prevents those images from showing up on phone's gallery.
4. Resources (folder)
The Resources is the default images which will be used for your widget.
image.png: this image file will be used as a default image for your widget which will appear when App Owners install your plugin in their plugin Manager .icon.png: this image file will be used as a default icon for your widget which will appear as an icon for the widget on the emulator and the actual device.
This folder is only for the default widget icon and default widget image. You can replace those two files if you need by overriding the default widget image and default icon image. Don't add any other files in this folder, any dependencies in this folder WILL NOT be carried over to the app.

So where do I put my resources and assets?
You can place your resources and assets like javascript files, images, css files ...etc in the same folder and the widget or control. You can also add them into subfolders as you would a web project. One important note is to reference the assets through a relative path and not absolute path since they will be moved around.
You cannot share resources between the control and widget since they will live in to different environments and will be separated outside of the Control Panel